
Dust Collector Cartridge Replacement Guide 2026: Step-by-Step Change-Out
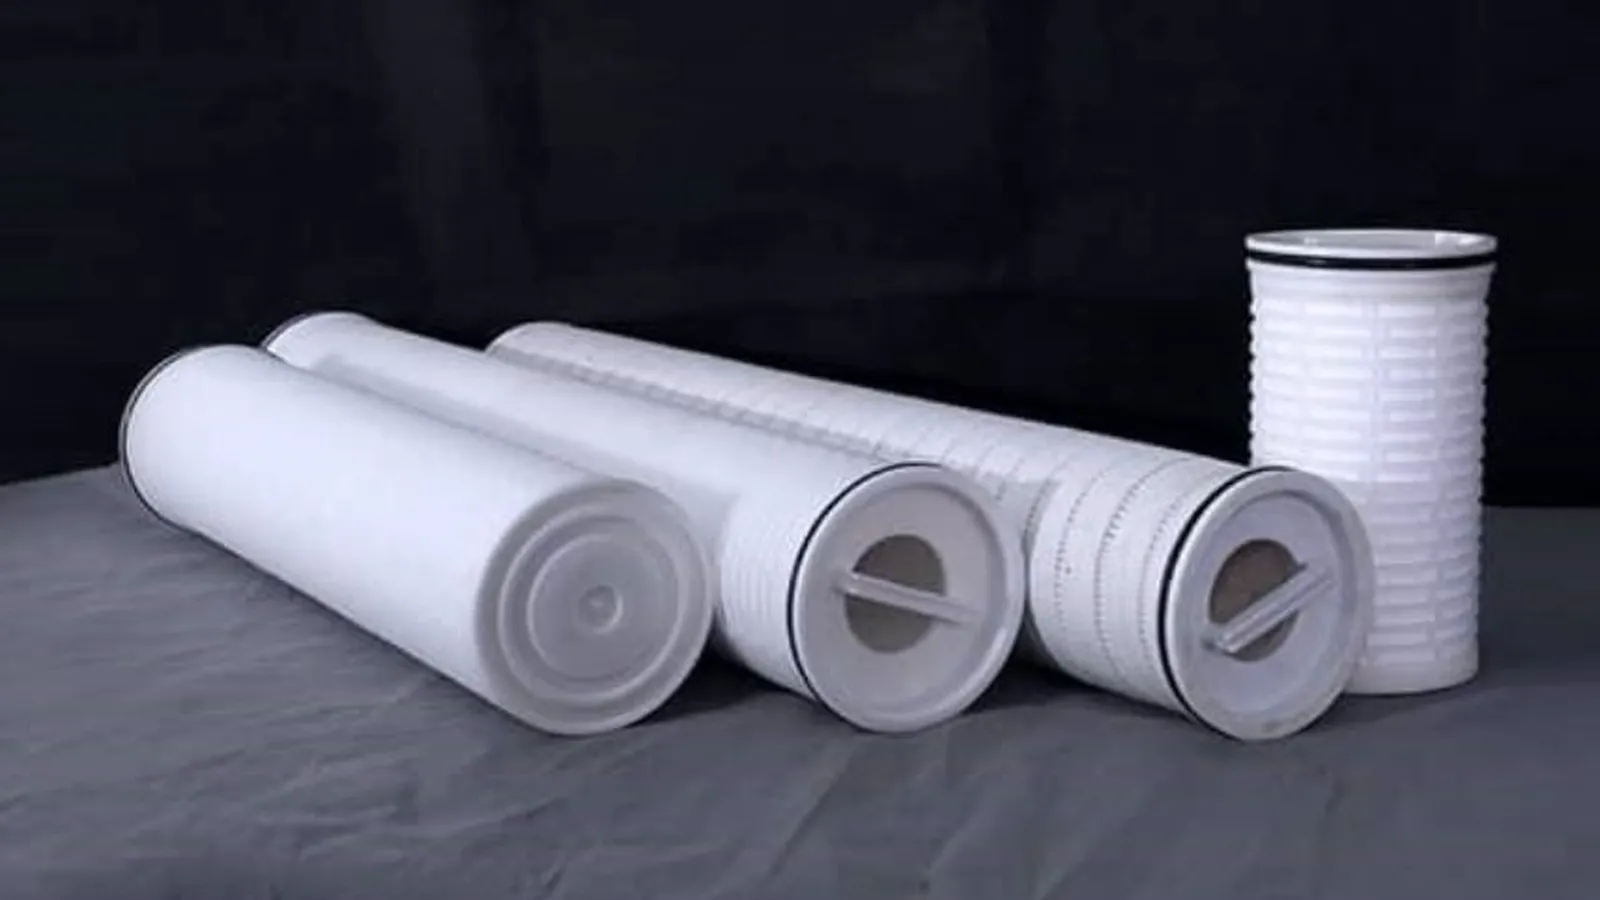
Table of Contents
A dust collector that ran past its change-out date cost a metal fabricator $22,000 last year. The cartridges loaded with weld fume until the fan could not pull air. Emissions tripped the local air quality alarm, and the plant shut down for two days. The replacement media cost $1,400. Lost production and the compliance fine made up the rest.
This guide covers when to change dust collector filter cartridges. It walks through the six steps of a safe change-out, cartridge versus bag replacement, a troubleshooting table and a maintenance plan. Every pressure, torque and interval figure is typical. Confirm the value on your data sheet. Follow the checklist at the end on every service. Keep reading for more!
Key Facts at a Glance
- Definition — A dust collector filter cartridge is a pleated, rigid media element that captures airborne particles before they reach the fan and stack.
- Change trigger — Change cartridges when the differential pressure stays high after pulse cleaning. The trigger is typically 1.5 to 2.0 inches w.g. above the clean baseline.
- Replacement fit — Dust collector replacement filters must match the original outer diameter, inner diameter, length and gasket style.
- Time and labor — A six-cartridge change-out typically takes two technicians about two hours with the right tools.
- Failure cost — A collapsed cartridge dumps collected dust into the fan, and the repair usually costs far more than the media.
- Maintenance — A monthly pulse-system check and a quarterly hopper inspection typically double cartridge service life.
When to Replace Dust Collector Cartridges
Differential pressure is the first signal. A clean pleated cartridge typically runs 1.5 to 3.0 inches w.g. at design flow. When the reading climbs 1.5 to 2.0 inches above baseline and pulse cleaning does not pull it back, the media is spent. The cartridge change interval follows the dust load, not the calendar.
Time-based rules still matter. Pleated cartridges on light duty typically last 18 to 24 months. Heavy applications, such as welding fume and cement transfer, often need a change every 6 to 12 months. Track hours or months on the service tag so the schedule survives staff changes.
Emissions are the second signal. Visible dust at the stack, dust on the clean-side surfaces, or a fan that labors at the same damper position all point to failed media. Stack opacity is a legal limit in many regions, so act on the first sign. Plan the dust collector filter replacement for the next scheduled outage.
The economics favor early change on most systems. A set of cartridges typically costs 2 to 5 percent of a replacement fan. Run the math once, and the change-out schedule stops being a negotiation. Budget the media cost per operating hour, not per calendar year.
| Sign | Typical threshold | Action |
|---|---|---|
| Differential pressure | 1.5 to 2.0 in. w.g. above clean baseline | Pulse clean; replace if no recovery |
| Service time | 6 to 24 months by duty | Replace at the planned outage |
| Visible stack dust | Any continuous haze | Stop, inspect seals and media |
| Fan current | 10 to 15% above normal | Check media and duct blockage |
| Pulse frequency | Rising every cycle | Media is loaded; plan change-out |
Record the pressure drop on every visit. The trend tells you when the next change is due. A rising baseline means the media is blinding, and no pulse cycle will fix it.
Before You Start: Tools, Parts & Safety
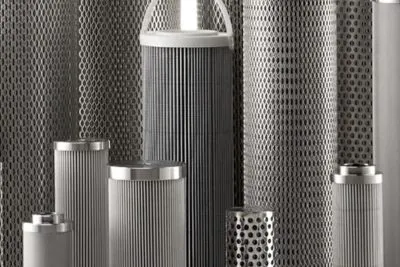
Gather everything before you open the door. A half-finished change-out leaves the collector open to the atmosphere, and dust spreads fast. Confirm the new cartridges match the old part number, the gasket style and the overall length.
1. Tools and spares
You need a socket set, a torque wrench, a gasket scraper and a flashlight. Add a vacuum for the hopper and a ladder rated for the access height. Keep one spare gasket per door and one spare cartridge per size on site. Cam-lock and bolt-down door hardware both need the right drive size.
Add a digital caliper and a tape measure to the tool kit. You will verify the old cartridge dimensions before you lift the new box. Measure the OD, the ID and the overall length to the nearest millimetre. A 5 mm length error is enough to break the gasket seal on many housings.
2. Parts and paperwork check
Measure the old cartridge before you open the box. Outer diameter, inner diameter and overall length must match. Dust collector filter cartridge manufacturers publish these numbers in a dimension drawing, so compare before lifting. Check the gasket for cuts and the pleats for crush damage at delivery.
Buy industrial dust collector replacement parts as one kit per change-out. A kit with media, gaskets and fasteners removes the single biggest delay in the field. Ask the industrial dust collector filter supplier for a kit quote when you order media.
3. Safety isolation
Shut down the process and lock out the fan motor per your site procedure. Tag the disconnect so nobody restarts the unit while you work. Wait for the fan to coast to a stop, typically 60 to 90 seconds. Empty the hopper first, because dust falls on you the moment the door opens.
Wear a respirator rated for the dust, gloves and eye protection. Collected dust is a hazard even when the process looks clean. Wet dust from a condensation event is worse, so treat the change-out as a confined-entry review.
Step 1: Shut Down and Lock Out the System
Stop the process fan and the rotary valve together. Confirm zero rotation at the fan before you approach. Lock out the motor starter and the valve motor with your own lock and tag. A single lock covers the whole unit, because both motors feed the same collector.
Purge the collector with the fan at low speed for five minutes if the process allows it. This settles airborne dust into the hopper. Close the damper after the purge so no draft pulls dust past the door. Check the hopper level and empty it if it is more than half full.
Confirm isolation with a voltage check at the disconnect. Never trust a wall switch or a remote screen. The lock out tag out sequence is the only thing standing between you and a fan that starts with the door open.
Coordinate the shutdown with production before you start. A change-out during a product changeover wastes less time than a mid-batch stop. Confirm the batch status and the shift handover plan. The collector stays open for the whole job, so schedule enough uninterrupted time.
Step 2: Open the Door and Remove Old Cartridges
Remove the door fasteners and swing the door on its hinge. Support the door so it cannot slam shut. Order replacement dust collector filters by the part number stamped on the old cartridge. Shine a light into the clean side and photograph the layout before you touch anything.
Slide each cartridge out of its tube sheet slot. Twist gently to break the gasket bond if it sticks. Drop the used media straight into a bag liner to control dust. Cartridge dust collectors produce less disposal volume than baghouses, but the dust is still a hazard.
Every dust collector cartridge leaves a gasket ring on the tube sheet, so wipe the seat clean before new media goes in. Look at the old media before it enters the bag. A wet patch, a hole or a crushed pleat explains a pressure problem before you install the new set.
Dispose of used media per local waste rules. Collected dust is often a listed waste, so check the classification before you use the general bin. Double-bag the liners and seal them with tape. Label each bag with the date, the source collector and the dust type.
Step 3: Inspect the Housing, Seals and Gaskets
Check the tube sheet for dents and weld cracks. A damaged tube sheet lets dust bypass the cartridge and reach the fan. Check the venturi and the pulse nozzles for misalignment. A nozzle pointed off center blows a hole in the media within months.
Inspect every door gasket and replace it at every change-out. Door gaskets cost little and fail quietly. A compressed gasket leaks dust onto the clean side, and the stack shows it. Clean the gasket face with a scraper until it is bare metal.
The labels 'dust collector filters cartridge' and 'cartridge dust collector filters' describe the same part, but the housing spec decides the fit. Confirm the seal style, the OD and the length against the drawing before you open the new box.
Step 4: Fit the New Cartridges and Seat the Gaskets
Lower each cartridge straight into its slot. Do not drag the gasket across the tube sheet edge, because a cut gasket bypasses from day one. Push down until the gasket seats fully, then give it a firm quarter-turn if the design uses a bayonet lock.
Bolt-down cartridges need even torque across the flange. A typical target is 15 to 25 N·m for a 300 mm flange, so use a torque wrench. Over-tightening crushes the gasket, and under-tightening leaks. Check the manufacturer drawing for the exact value.
Fit every cartridge before you close the door. A skipped slot at the back of the row is easy to miss until the emissions test. Seat the venturi ring on top of each cartridge if the design uses loose venturis.
Handle new cartridges by the end caps, never by the pleats. A squeezed pleat set collapses under airflow and blinds early. Store spares upright in a dry room between 10 and 30 °C. Sunlight and humidity both age the media faster than service does.
Step 5: Reinstall the Door & Test the Pulse System
Close the door and torque the fasteners in a crisscross pattern. A typical door torque is 40 to 60 N·m on bolted flanges, and cam-lock clamps just need a firm pull. Work opposite corners so the gasket compresses evenly.
Check the pulse system before you restart. Confirm the compressor delivers 80 to 100 psi at the header, typical for most systems. Fire each solenoid row three to five times by hand and listen for a clean snap. A weak pulse means a leaking diaphragm or a blocked nozzle.
Watch the pulse blow on the clean side through the inspection window. Every cartridge should flex when its row fires. A cartridge that does not move is mis-seated or its venturi is blocked. Fix it now, while the door is still open behind you.
Step 6: Restart and Verify the Pressure Drop
Start the fan and bring the collector to normal flow. Run for 30 minutes before you judge the numbers. Compare the differential pressure with the clean baseline from the last change-out. A healthy pleated system typically runs below 4 inches w.g. at design flow.
Check the stack with a flashlight beam at dusk or against a dark background. Any haze means a seal leak or a skipped cartridge. Recheck the door gasket line and the cartridge seats before you sign the job off.
The dust collector air filter path includes the fan inlet screen and the clean-side plenum, so inspect both during the restart. Log the new baseline, the date and the technician name on the service tag. The next change-out starts from these numbers.
Stay near the collector for the first hour after restart. Listen for pulse valve chatter and check the hopper for bridging. Recheck the pressure drop at the one-hour mark and compare it with the 30-minute reading. A stable trend means the set is seated and clean.
Cartridge vs Filter Bag Change-Out
Dust collector cartridges and filter bags capture the same dust, but the change-out differs. Cartridge dust collector filters are the modern default, while bag systems still dominate very large and very hot applications.
Dust collector cartridge filters change faster than bag tubes because the media is one rigid unit. A technician swaps a cartridge in minutes, while a bag needs a cage, a snap ring and careful alignment. Bags store flat and ship cheaper, but they handle in more pieces.
| Feature | Cartridge (typical) | Filter bag (typical) |
|---|---|---|
| Change-out time per unit | 3 to 5 minutes | 5 to 10 minutes |
| Disposal volume | Low, compact media | High, bulky tubes |
| Media life | 12 to 24 months | 6 to 18 months |
| Temperature limit | Up to 200 °C with PTFE | Up to 260 °C with fiberglass |
| Filtration efficiency | High, pleated media | Depends on felt grade |
| Pressure drop | Low and stable | Higher when loaded |
Filter bags suit high-volume, abrasive dust at lower cost per square foot of media. Industrial dust collector filter bags and cartridges both work in pulse-jet collectors, so the housing determines the format. Dust filter bags are the budget choice for coarse, dry dust.
Filter bags for dust collectors hang from a tube sheet like cartridges, but the change path is longer. Dust bags for dust collector units need cage removal and re-seating, which adds labor. A dust collector bag in filtration process equipment handles the same duty, just with more steps.
Dust collectors bags and cartridges both pulse clean, but cartridges hold more media area in the same footprint. A cartridge filter for dust collector retrofits lets plants upgrade baghouses without new ductwork. Cartridge filters for dust collectors seal at the top plate, so change-out happens from the clean side.
When a buyer searches 'filter bag dust collector' or 'air filter dust collector', the result can be either format. Ask for the housing model, not the brand, when you compare. Many bag media use a dust collector filter felt heatset recycled polyester construction, while cartridges use spun-bond or PTFE-laminated media.
A dust filter cartridge is the pulse-jet standard for fine powders and metal fume. Industrial dust collector bags win where gas temperature exceeds 200 °C and media cost matters. Match the format to the housing and the dust, not to habit.
Troubleshooting Common Change-Out Problems
Most post-change problems come from three causes: a mis-seated gasket, a skipped cartridge or a weak pulse. Work through the table in order. Fix the cause, not the symptom, or the same fault returns next month.
| Symptom | Likely cause | Fix |
|---|---|---|
| High pressure drop after change | Media too fine or a bag left in a slot | Confirm spec and layout |
| Visible stack haze | Gasket cut or door seal leak | Re-seat media, replace gasket |
| Fan overload trip | Cartridge count short or duct blocked | Verify full set, check duct |
| Cartridge collapse | Pulse pressure too high or wet dust | Set 80 to 100 psi, dry the dust |
| Rapid re-blocking | Dust load above design | Add pre-separation or more media |
| Low pressure drop with haze | Media bypassing the seal | Check OD and gasket style |
A wet patch on the old media means condensation, and a new cartridge will fail the same way. Find the moisture source first. A pulse valve that sticks open floods the row with air and erodes media, so repair it before the next change-out.
Record the fix on the service tag with the symptom. The log builds a failure history that turns guesses into decisions. Most plants solve 80 percent of change-out problems with the six rows above.
Measure the pressure drop across the clean-side plenum, not just at the fan. A blocked duct mimics a loaded cartridge, and a new set will not fix it. Compare readings at the same damper position and flow rate. Log the flow with every reading so the trend stays honest.
Maintenance Plan and Intervals
A collector that runs to breakdown costs four to ten times more than one on a schedule. Pulse valves fail silently, and hopper bridges show up as emissions. Use the plan below as the default and tune it to your dust load.
| Service task | Typical interval | Action |
|---|---|---|
| Differential pressure log | Weekly | Record reading at same flow |
| Pulse system test | Monthly | Fire each row, check header pressure |
| Hopper level check | Monthly | Empty before half full |
| Door gasket inspection | Quarterly | Replace compressed or cut gaskets |
| Cartridge change-out | 12 to 24 months | Replace full set per this guide |
| Emissions check | Yearly | Stack test against local limits |
1. Pulse system care
Keep the header pressure stable between 80 and 100 psi, typical for most plants. A 10 psi drop changes the cleaning energy enough to blind media. Drain the air receiver daily in humid weather. Water in the pulse air is the fastest way to ruin a fresh set.
2. Spare stock and records
Stock one full set of cartridges, door gaskets and a spare pulse valve per collector. Dust cartridge filters that pulse clean well often run the full 24 months, so the stock turns slowly. Log every change-out with the pressure drop before and after, and keep the record with the unit manual.
Industrial dust collector filters that serve multi-shift plants see the most wear. Schedule the change-out against the production calendar, not the maintenance calendar. The two rarely agree, and the collector always loses.
Track the fan current as a second indicator. A rising trend at the same damper position means the media is loading or the duct is fouling. Compare the number to the commissioning log, not to memory.
The Bottom Line: Replacement Checklist
A disciplined change-out takes two hours and a checklist. A rushed one costs a fan, a compliance fine or a batch. Run this list on every service, even when the crew has done it a hundred times.
- Lock out — Shut down the fan and valve, lock and tag the disconnects.
- Inspect old media — Check for wet patches, holes and crushed pleats before disposal.
- Verify fit — Match OD, ID, length and gasket style to the drawing.
- Clean seats — Scrape the tube sheet and replace every door gasket.
- Seat gaskets — Push each cartridge home and torque flanges evenly.
- Test pulses — Fire each row and confirm every cartridge flexes.
- Verify emissions — Check the stack and the differential against baseline.
- Log the service — Record date, baseline pressure and technician name.
If this is your first change-out on a new housing, order one sample cartridge first. Test the fit, the gasket and the pressure drop before you buy the full set. A sample costs one cartridge and one hour of labor.
PLEATPURE manufactures dust collector cartridges factory-direct, with gaskets, media and dimensions verified before shipment. Send us your old part number or the housing model for a cross-reference quote, and we will confirm the fit before you order volume. Browse the dust collector cartridges range or request a sample cartridge for a trial change-out.
NEXT STEP
Ready to Switch to Replacement Filter Cartridges?
Send us your element dimensions or part numbers — our team responds within 24 hours with pricing and lead time.
Written by
Ray ChanFiltration Buyer's Guide Author · Industrial Filter Cartridge Specialist. Ray helps global importers, distributors and maintenance teams source factory-direct replacement filter cartridges.